Whether you’re outfitting a gym, school, office, or warehouse, installing new lockers is a project that requires careful planning, the right tools, and a clear understanding of the process. Done correctly, new lockers provide years of secure, organized storage for employees, students, or members. Done poorly, they can become a safety hazard or an eyesore. This guide walks you through everything you need to know to effectively install new lockers from start to finish.
The most important step in any locker installation happens before you even open a box. Start by measuring your available wall space, ceiling height, and floor area. Take note of any existing fixtures, electrical outlets, plumbing lines, or vents that could interfere with placement.
Ask yourself these key questions: How many lockers do you need? Will they be single-tier, double-tier, or multi-tier? Do you need them freestanding or wall-mounted? What materials or finishes are required for your environment (e.g., rust-resistant steel for locker rooms, or wood-grain laminate for offices)?
Create a simple floor plan or diagram that maps out locker placement. This will help you order the correct number of units and anticipate any installation challenges before they arise. Always account for a few inches of clearance on each side for access and ventilation.
Having the proper tools on hand saves time and prevents frustration during installation. For most new locker installations, you will need:
If your new lockers come unassembled, you will also need the manufacturer’s included hardware and instructions. Read through these before you begin to avoid confusion or missing parts.
Once your tools are ready, clear the installation area completely. Remove any furniture, floor mats, or debris. Clean the floor and wall surfaces to ensure a clean, stable base for your new lockers.
Use your stud finder to locate wall studs along the installation zone and mark them clearly with a pencil. This is critical if you plan to anchor your lockers to the wall, as attaching them to drywall alone will not provide sufficient support. Mark the floor with tape or chalk to indicate exactly where each locker bank will be positioned.
If your floor is uneven, now is the time to address it. Uneven floors are one of the top reasons locker doors don’t hang or close properly. Use a long level across the floor area and note any dips or rises. Shims will correct minor irregularities during the installation process.
If your new lockers arrive flat-packed or in sections, assemble them according to the manufacturer’s instructions. Lay the components out on a clean floor and identify each part before beginning.
Most metal lockers are assembled by attaching side panels, back panels, and shelving units using bolts and nuts. Tighten connections firmly but avoid over-torquing, which can warp the metal. Attach the door and hinges according to the provided instructions, and test the door swing before moving to installation.
For locker banks that feature multiple units stacked or joined side-by-side, ensure all units are square and flush with each other before connecting them together. Gaps between units or misaligned tops are unsightly and can affect door operation.
With your lockers accessories assembled, move them into the marked position. Use your level on top of the locker bank to check both side-to-side and front-to-back levelness. Insert shims beneath the base frame as needed until the lockers are perfectly level.
Leveling is not just an aesthetic concern. Lockers that are not level will experience undue stress on hinges and locking mechanisms, leading to premature wear. Take your time at this step, as it will directly impact the performance and longevity of your new lockers.
Once the lockers are level, secure them to the wall and floor. Use your pre-marked stud locations to drill pilot holes and attach wall-mounting brackets or directly fasten the locker frame to the studs using appropriate lag bolts.
For floor anchoring, drill through the base frame of the locker into the floor and use anchor bolts suitable for your floor material (concrete, tile, or wood). This step is especially important in high-traffic environments where lockers may be pushed, leaned on, or accessed frequently.
If installing multiple locker banks side by side, connect adjacent units using the joining bolts or clips provided. This prevents individual units from shifting and presents a unified, professional appearance.
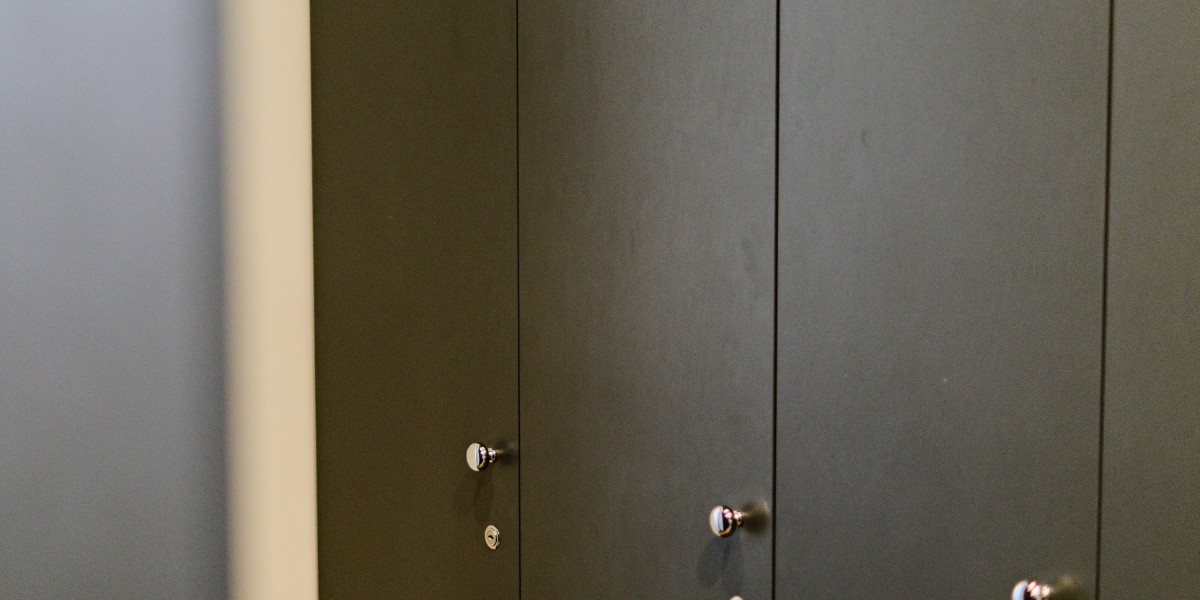
The final phase of installation involves fitting your locking mechanisms, handles, number plates, and any additional accessories such as coat hooks, vents, or sloped tops. Install padlock hasps, built-in combination locks, or key locks according to your preference and the locker design.
Test every door, every lock, and every hinge. Open and close each door multiple times to confirm smooth operation. Adjust hinges or latches as needed. If a door is sticking or not closing flush, recheck the level and make minor shim adjustments.
When shopping for new lockers, choosing the right supplier matters. Lockers Unlimited offers a wide range of high-quality lockers suitable for schools, gyms, offices, and industrial settings, backed by expert guidance to help you find the perfect fit for your space.
Lockers Unlimited, Once your new lockers are installed, a simple maintenance routine will keep them functioning well for years. Periodically check that anchor bolts remain tight, especially in high-traffic areas. Lubricate hinges and locking mechanisms annually. Clean surfaces regularly with a non-abrasive cleaner appropriate for the locker material.
Inspect doors and locks every few months for signs of wear or damage. Catching minor issues early prevents costly repairs later.
Installation time depends on the number of lockers, the complexity of the setup, and the experience of the installer. A single bank of 12 standard lockers can typically be installed in 2–4 hours by two people. Larger installations with multiple banks or custom configurations may take a full day or more. Proper planning and preparation significantly reduce installation time.
Yes, in most cases wall anchoring is strongly recommended and may be required by building codes or safety regulations, especially in schools and public facilities. Anchoring prevents lockers from tipping forward when doors are open or when users lean or pull on them. Even in lower-traffic environments, wall anchoring adds stability and prevents gradual shifting over time.
The best lock type depends on your specific use case. Built-in combination locks are popular in schools and gyms because they eliminate the need for keys. Padlock hasps offer flexibility since users can supply their own padlocks. Key locks are common in corporate and office environments where master key access is important. Electronic or RFID locks are growing in popularity for high-security or convenience-focused applications.
New lockers can be installed on most floor types, including concrete, tile, vinyl, and wood. However, the type of anchoring hardware you use must match the floor material. Concrete requires masonry anchors, while wood subfloors use lag bolts. On tile floors, it is important to drill carefully to avoid cracking tiles. Regardless of floor type, ensuring the lockers are level is always the priority.
Locker size should be determined by what users need to store inside them. Single-tier lockers (full-height, typically 60–72 inches tall) are ideal for storing full-length coats, sports equipment, or bags. Double-tier or triple-tier lockers are more space-efficient and work well in schools or offices where users only need to store smaller items. Measure your available space and consider traffic flow to determine the best locker height, width, and depth for your environment.